Gallery
The Gallery is SnapCart's media library — a central place to upload, organise, and reuse images and files across products, blog posts, CMS pages, and banners. Go to Gallery in the left sidebar.
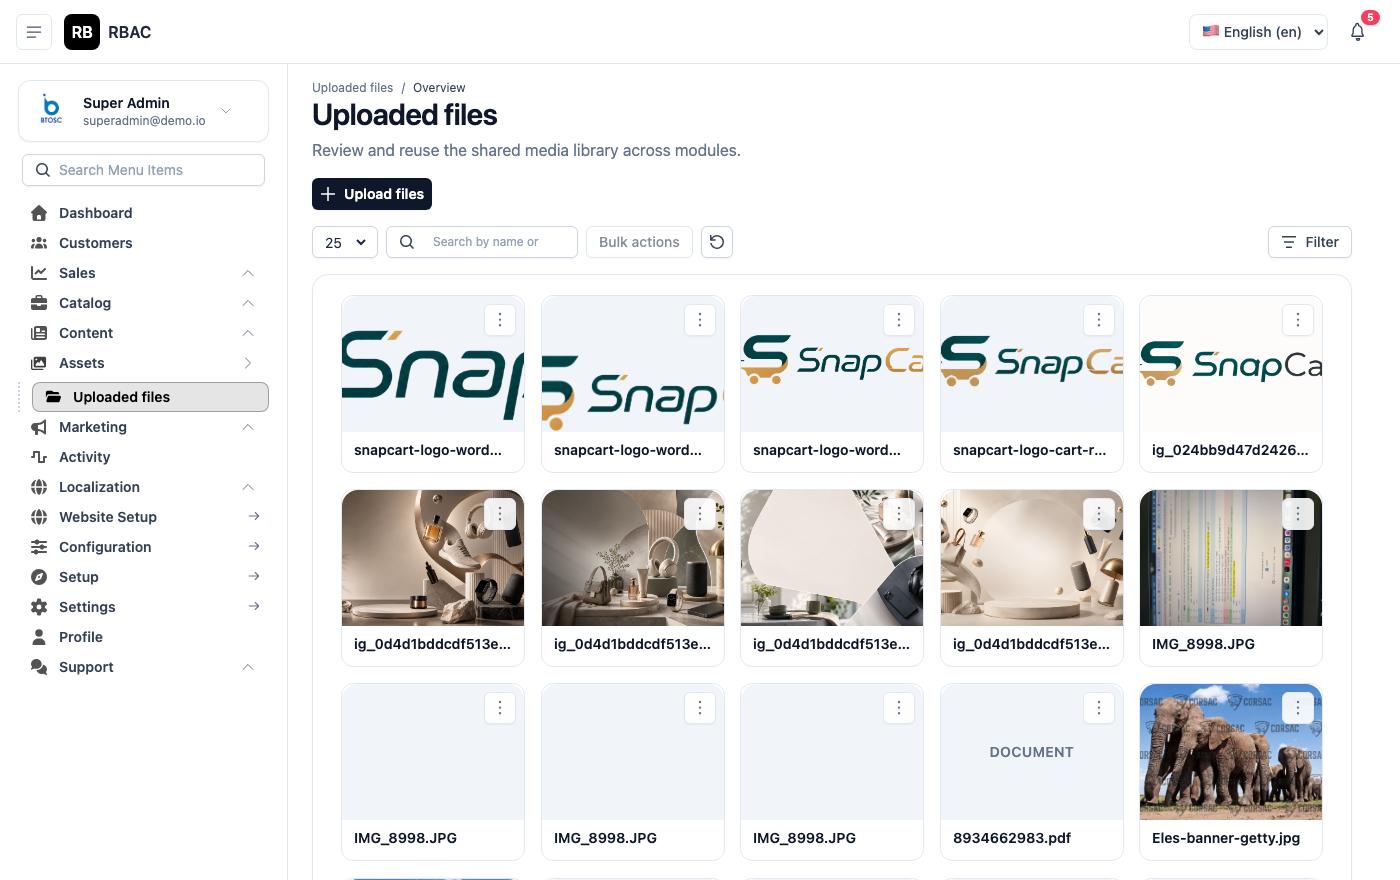 Gallery showing uploaded files as a grid of thumbnails with file names and sizes
Browsing the Gallery
The gallery displays all uploaded files as a grid of thumbnails. Each thumbnail shows:
- A preview of the image (or a file-type icon for non-image files such as PDFs)
- The file name below the thumbnail
- The file size in kilobytes or megabytes
Filtering and searching:
- Use the search bar (top of the grid) to find files by name. The search is case-insensitive and matches partial file names.
- Use the file type filter dropdown to narrow the view to Images, Documents, or All Files.
- Files are sorted by upload date — newest first — by default. You can switch to alphabetical order using the sort dropdown.
Click any thumbnail to open the file detail panel on the right side of the screen, which shows the full file name, dimensions (for images), size, upload date, and a direct URL.
Uploading Files
Single file upload
- Click Upload (top-right corner).
- In the file picker that opens, select a file from your computer.
- The file uploads immediately and appears at the top of the gallery grid.
Bulk upload
- Click Upload.
- In the file picker, hold Ctrl (Windows/Linux) or Cmd (macOS) and click multiple files to select them all at once, or hold Shift to select a range.
- Click Open. All selected files upload in parallel.
- A progress indicator shows the upload status for each file.
Alternatively, drag and drop one or more files directly onto the gallery grid area. The grid highlights with a drop-zone border when you drag files over it.
File requirements
| Property | Limit / Supported Values |
|---|---|
| Maximum file size | 5 MB per file |
| Supported image formats | JPEG, PNG, WebP, GIF, SVG |
| Supported document formats | |
| Minimum dimensions | No minimum enforced, but see recommended sizes below |
Files that exceed 5 MB are rejected with an error. Compress large images before uploading using a tool such as Squoosh, TinyPNG, or ImageOptim.
Recommended Image Sizes by Context
Using correctly-sized images prevents layout shifts, slow page loads, and blurry rendering. The table below lists the recommended pixel dimensions for each common use case.
| Context | Recommended Size | Aspect Ratio | Format Notes |
|---|---|---|---|
| Product main image | 800 × 800 px | 1:1 (square) | JPEG at 80% quality or WebP for best compression |
| Product gallery images | 800 × 800 px | 1:1 (square) | Match the main image dimensions for a consistent gallery |
| Category image / card | 600 × 400 px | 3:2 | JPEG or WebP |
| Homepage hero banner | 1920 × 600 px | 16:5 | JPEG, full-width slideshow |
| Blog featured image | 1200 × 628 px | ~1.91:1 | Optimised for social sharing (Open Graph) |
| Brand logo | 200 × 80 px | Landscape | PNG with transparent background |
| Favicon | 32 × 32 px | 1:1 | PNG or ICO; upload via Settings → General |
| CMS page image | 800 × 450 px | 16:9 | JPEG or WebP |
| Coupon / promotional banner | 1200 × 300 px | 4:1 | JPEG |
WebP format offers 25–35% smaller file sizes compared to JPEG at equivalent quality. Use WebP for all new uploads where browser compatibility is not a concern. All major browsers have supported WebP since 2020.
Using Gallery Images in Products, Blog Posts, and CMS Pages
When you need to attach an image to any content type, you do not upload separately — you select from the gallery.
Selecting an image from the gallery picker
- In the product, blog post, or page editor, click the image field or Select from Gallery button.
- The gallery picker modal opens, showing the full media library with the same search and filter controls.
- Browse or search for the image you need.
- Click the image thumbnail to select it. A checkmark overlay confirms the selection.
- Click Confirm. The image is attached to the content field.
Embedding images in rich-text content
Inside the rich-text editor (for blog posts, CMS pages, or product descriptions):
- Position your cursor where you want the image.
- Click the Image button in the editor toolbar (picture icon).
- The gallery picker opens.
- Select an image and click Confirm.
- The image is embedded inline. Click the image in the editor to resize it or set alignment (left, centre, right).
Renaming Files
The gallery does not currently support in-place file renaming after upload. To rename a file:
- Download the file, rename it on your local machine using the correct naming convention.
- Delete the old file from the gallery (see the deletion section below).
- Upload the renamed file.
- Reassign the new file to any products, pages, or posts that used the old file.
To avoid this workflow, name files correctly before uploading (see Best Practices below).
Copying an Image URL
- Click a thumbnail to open the file detail panel.
- The File URL field shows the full public URL of the image.
- Click the Copy icon next to the URL field to copy it to your clipboard.
Use this URL to reference the image in custom HTML widgets, email templates, or external systems.
Deleting Files
- Click a thumbnail to open the file detail panel.
- Click Delete.
- Confirm the deletion in the prompt.
Deleting a file from the gallery does not automatically remove it from products, pages, or posts that reference it. Those content items will display a broken image icon on the storefront. Before deleting any file, search for its usage:
- Check the Used In field in the file detail panel (if shown).
- Search the product and page lists for references to that file name.
- Replace the image on all content items before deleting.
Storage Backends
SnapCart supports two storage modes, configured in application.yml:
| Mode | Setting | Description |
|---|---|---|
| Local | storage.type: local | Files stored in /storage/ on the server filesystem. Suitable for development and single-server deployments. |
| AWS S3 | storage.type: s3 | Files stored in an S3-compatible bucket. Suitable for production, multi-server, and cloud deployments. |
For production deployments, AWS S3 (or a compatible service such as DigitalOcean Spaces, Cloudflare R2, or MinIO) is strongly recommended for:
- Durability: S3-compatible services replicate data across multiple availability zones.
- Scalability: No server disk space limitations.
- CDN delivery: Pair S3 with a CDN (see below) for fast global delivery.
Switching from local to S3
Update application.yml with your S3 credentials and bucket details, then restart the application. Existing locally-stored files must be manually migrated to the bucket — the application does not migrate them automatically.
CDN Delivery
When S3 storage is active, you can front the bucket with a CDN (Content Delivery Network) such as Amazon CloudFront, Cloudflare, or BunnyCDN for faster image delivery to globally distributed customers.
To enable CDN delivery:
- Create a CDN distribution pointing to your S3 bucket as the origin.
- In
application.yml, setstorage.cdn-urlto your CDN base URL (e.g.,https://cdn.yourstore.com). - Restart the application. All new image URLs generated by SnapCart will use the CDN domain instead of the S3 bucket URL.
Images served via CDN are cached at edge nodes geographically close to the customer, reducing load times for product images significantly.
Best Practices for Image Naming
Consistent, descriptive file names make the gallery easier to search and improve SEO (image file names are a minor ranking signal).
| Guideline | Good Example | Bad Example |
|---|---|---|
| Use lowercase letters only | nike-air-max-90-red.jpg | Nike_Air_Max_90_Red.jpg |
| Separate words with hyphens | samsung-galaxy-s24-ultra.webp | samsunggalaxys24ultra.webp |
| Include the product name and variant | adidas-ultraboost-23-white-side.jpg | IMG_0042.jpg |
| Include the context/angle for product images | apple-iphone-15-pro-titanium-front.webp | photo1.webp |
| Keep names concise (under 60 characters) | levi-501-jeans-blue-32x30.jpg | levis-original-501-straight-fit-jeans-indigo-blue-32-inch-waist-30-inch-leg.jpg |
| Do not include dates or version numbers | hero-banner-summer.jpg | hero-banner-2024-06-15-v3.jpg |
Troubleshooting
Upload fails immediately without a clear error. The file likely exceeds the 5 MB limit or is in an unsupported format. Check the file size and format in your operating system's file properties. Compress or convert the file before retrying.
Images upload successfully but do not appear on the storefront.
If using local storage, verify that the /storage/ directory is web-accessible (correctly mapped in your Nginx or Apache configuration). If using S3, verify that the bucket policy allows public read access for object URLs, or that a pre-signed URL strategy is correctly configured.
Gallery search returns no results for a file I know exists.
The search matches file names exactly. If the file was uploaded with a generic name (e.g., image.jpg), it may be hard to locate — browse the grid by scrolling instead, or sort by date to find recently uploaded files.
Broken images are appearing on the storefront after I deleted a file. Deleted gallery files are not replaced automatically. Go to each affected product, page, or blog post and upload or select a replacement image. Use the gallery's copy URL feature to identify which content referenced the deleted file.