Pages
The Pages section is a lightweight CMS for managing static content pages on your storefront — such as About Us, Terms & Conditions, Privacy Policy, and Contact. Go to Pages in the left sidebar.
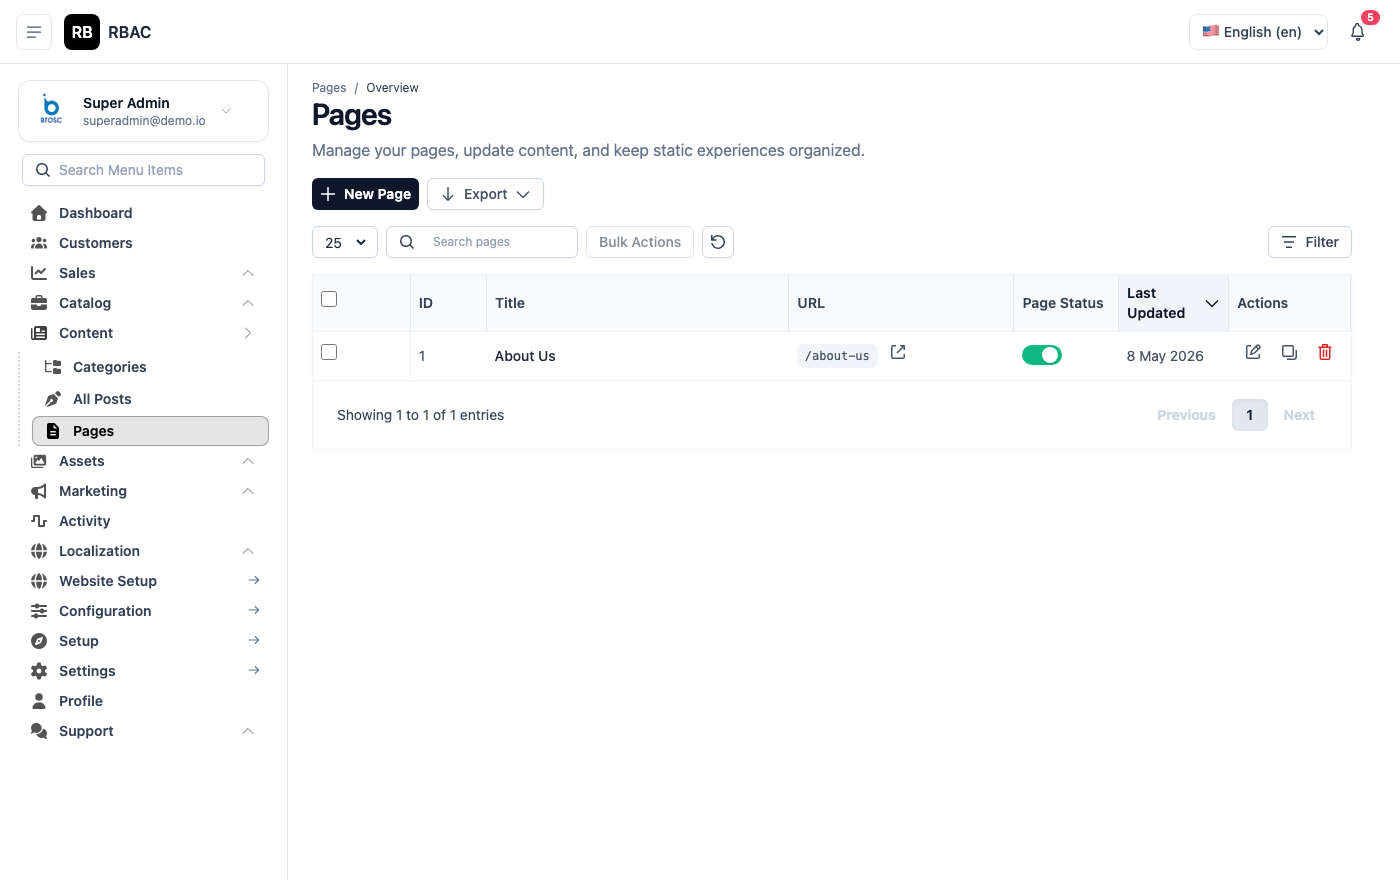 Pages list showing page title, URL slug, and publication status
Viewing Pages
The page list shows all CMS pages with the following columns:
| Column | Description |
|---|---|
| Title | The page heading as it will appear to visitors |
| Slug | The URL path for the page |
| Status | Published or Draft badge |
| Actions | Edit and Delete icon buttons |
Pages are listed in creation order by default. Use the search bar to find a page by title.
Creating a Page
- Go to Pages.
- Click Add New (top-right corner).
- Fill in the page form:
| Field | Required | Description |
|---|---|---|
| Title | Yes | The page heading displayed to visitors and used as the default browser tab title. |
| Slug | Yes | The URL path for this page. Auto-generated from the title. Must be lowercase, with hyphens in place of spaces, and no special characters or spaces (e.g., about-us generates the URL /page/about-us). |
| Content | Yes | The main body content edited in the rich-text editor. See the editor features section below. |
| Status | Yes | Published makes the page live on the storefront. Draft saves the page without making it public. |
| Meta Title | No | The <title> tag for SEO. If left blank, the page Title is used. Aim for 50–60 characters. |
| Meta Description | No | The <meta name="description"> tag shown in search engine results. Aim for 150–160 characters. |
- Click Save.
Slug Rules
The slug is the unique identifier for the page URL. Follow these rules to avoid broken links and SEO issues:
- Lowercase only:
privacy-policynotPrivacy-Policy - Hyphens as separators:
terms-and-conditionsnotterms_and_conditionsortermsandconditions - No special characters: No ampersands, apostrophes, question marks, or slashes
- No spaces: All spaces must be replaced with hyphens
- Keep it concise: Aim for 2–5 words (e.g.,
about-us,contact,shipping-policy) - Unique: Each slug must be unique across all CMS pages
If you change a slug after a page has been published and indexed by search engines, the old URL becomes a 404. Set up a server-level redirect from the old slug to the new one to preserve SEO value.
The Rich-Text Editor
The content editor provides a full-featured WYSIWYG interface. The toolbar includes:
| Feature | Description |
|---|---|
| Headings | H1 through H6 for content hierarchy |
| Bold / Italic / Underline | Inline text emphasis |
| Strikethrough | Strikethrough text |
| Bulleted list | Unordered list |
| Numbered list | Ordered list |
| Blockquote | Indented quote block for highlighted text |
| Code block | Monospace block for displaying code or technical strings |
| Hyperlink | Insert or remove a link. Enter the target URL and whether to open in a new tab |
| Image | Insert an image from the Gallery picker. Click the inserted image to set alignment and size |
| Table | Insert a table and configure rows and columns inline |
| Horizontal rule | Insert a divider line |
| Undo / Redo | Step backward or forward through editing history |
Embedding images in page content
- Position the cursor in the editor where the image should appear.
- Click the Image button in the toolbar.
- The Gallery picker opens — select or upload an image and click Confirm.
- The image appears inline. Click it to reveal alignment controls (left, centre, right) and a resize handle.
- To add alt text (important for accessibility and SEO), right-click the image and choose Edit image or use the image properties panel.
Adding hyperlinks
- Select the text you want to turn into a link.
- Click the Link button in the toolbar.
- Enter the destination URL.
- Choose whether to open in the same tab or a new tab.
- Click Apply.
To remove a link, click inside it and click the Unlink button (broken chain icon).
Publishing Workflow
CMS pages follow a two-state publishing model:
| Status | Description |
|---|---|
| Draft | The page is saved but not visible on the storefront. Use this while writing or waiting for approval. |
| Published | The page is live at its slug URL and accessible to all storefront visitors. |
To move a page from Draft to Published:
- Open the page in edit mode.
- Change Status to Published.
- Click Save.
Changes to a Published page go live immediately on save. There is no staging or preview environment — edit carefully on live pages, or draft a copy first.
Editing a Page
- In the Pages list, click the edit icon (pencil) next to the page.
- Update any field — Title, Slug, Content, Status, or SEO fields.
- Click Save.
All fields can be updated at any time. For Published pages, changes are visible on the storefront as soon as you save.
Deleting a Page
- In the Pages list, click the delete icon (trash can) next to the page.
- Confirm the deletion.
The page's URL immediately returns a 404 response on the storefront. Update or remove any navigation links (in the footer or elsewhere) that pointed to the deleted page.
Adding Pages to the Footer Navigation
To add a CMS page to the storefront footer navigation:
- Go to Settings → General.
- Find the Footer Links section.
- Click Add Link.
- Enter the link label (display text) and select the page from the dropdown, or enter the slug manually.
- Drag links to reorder them.
- Click Save.
Footer changes take effect immediately on the storefront. The footer typically contains links to legal and informational pages (Privacy Policy, Terms & Conditions, About Us, Contact).
SEO Best Practices for CMS Pages
| Field | Recommendation |
|---|---|
| Meta Title | Use a descriptive, keyword-relevant title. Include your store name at the end (e.g., "About Us — SnapCart"). |
| Meta Description | Summarise what the page is about. Use natural language; avoid keyword stuffing. |
| Slug | Keep it short and descriptive. Match common search queries where relevant (e.g., /shipping-policy rather than /page-7). |
| Content | Write at least 200 words of genuine content. Thin pages (under 100 words) are less likely to rank and may be penalised. |
| Headings | Use H2 and H3 tags to structure the content. Include relevant keywords naturally in headings. |
| Images | Add alt text to all images for accessibility and image search indexing. |
Pre-installed Pages
After installation, SnapCart seeds the following default pages with placeholder content:
About Us — /page/about-us
The About Us page introduces your business to potential customers. Customise it with:
- Your company's founding story and mission statement
- The team or key people behind the store (with photos)
- Your values, commitments, and unique selling proposition
- Any awards, certifications, or press mentions
- A call-to-action linking to your product catalogue or contact page
Well-written About Us pages build trust and can reduce cart abandonment by reassuring first-time visitors that your store is legitimate.
Terms & Conditions — /page/terms
The Terms & Conditions page defines the legal agreement between your store and customers. Replace the placeholder with:
- Acceptance of terms
- Product and pricing information policies
- Order, cancellation, and return policies
- Intellectual property notices
- Limitation of liability
- Governing law and jurisdiction
The placeholder Terms & Conditions text is not a legally binding document. Consult a qualified legal professional to draft Terms & Conditions appropriate for your business, jurisdiction, and product types.
Privacy Policy — /page/privacy
Required by law in most jurisdictions (GDPR, India's DPDP Act, CCPA, etc.). Replace the placeholder with:
- What personal data you collect (name, email, address, payment info)
- How data is collected (forms, cookies, analytics)
- How data is used and stored
- Whether data is shared with third parties (shipping providers, payment gateways)
- Customer rights (access, correction, deletion)
- Contact information for data-related queries
A missing or inadequate Privacy Policy can result in regulatory fines and loss of customer trust. Have the policy reviewed by a legal professional familiar with the data protection laws applicable to your target markets.
Contact Us — /page/contact
The Contact Us page provides customers with a way to reach your team. Customise it with:
- Customer support email address and/or phone number
- Business hours and expected response times
- Physical address (if applicable)
- Social media links
- An embedded contact form (the default page includes a functional contact form)
Update the email address in the contact form settings under Settings → General → Support Email so submissions are delivered to your inbox.
Troubleshooting
A page I published is not accessible on the storefront.
Verify the slug is correctly formatted (no spaces, lowercase, starts without a slash). Navigate to yourstore.com/page/your-slug directly to test. If the page still returns 404, save the page again to ensure the slug was persisted correctly.
The footer link points to a 404 page. The footer link slug may not match the page slug exactly. Go to Settings → General → Footer Links and verify the slug in the link matches the slug in the page edit form.
I accidentally deleted a page that was live. The page content cannot be recovered from the admin panel. If you have a database backup, restore the record from there. Otherwise, recreate the page with the same slug and content. If the slug was indexed by search engines, the page will regain its ranking over time once re-indexed.