Settings
The Settings section is the control centre for your entire SnapCart store. Changes made here affect global behaviour across the storefront, admin panel, emails, and integrations. Go to Settings in the left sidebar.
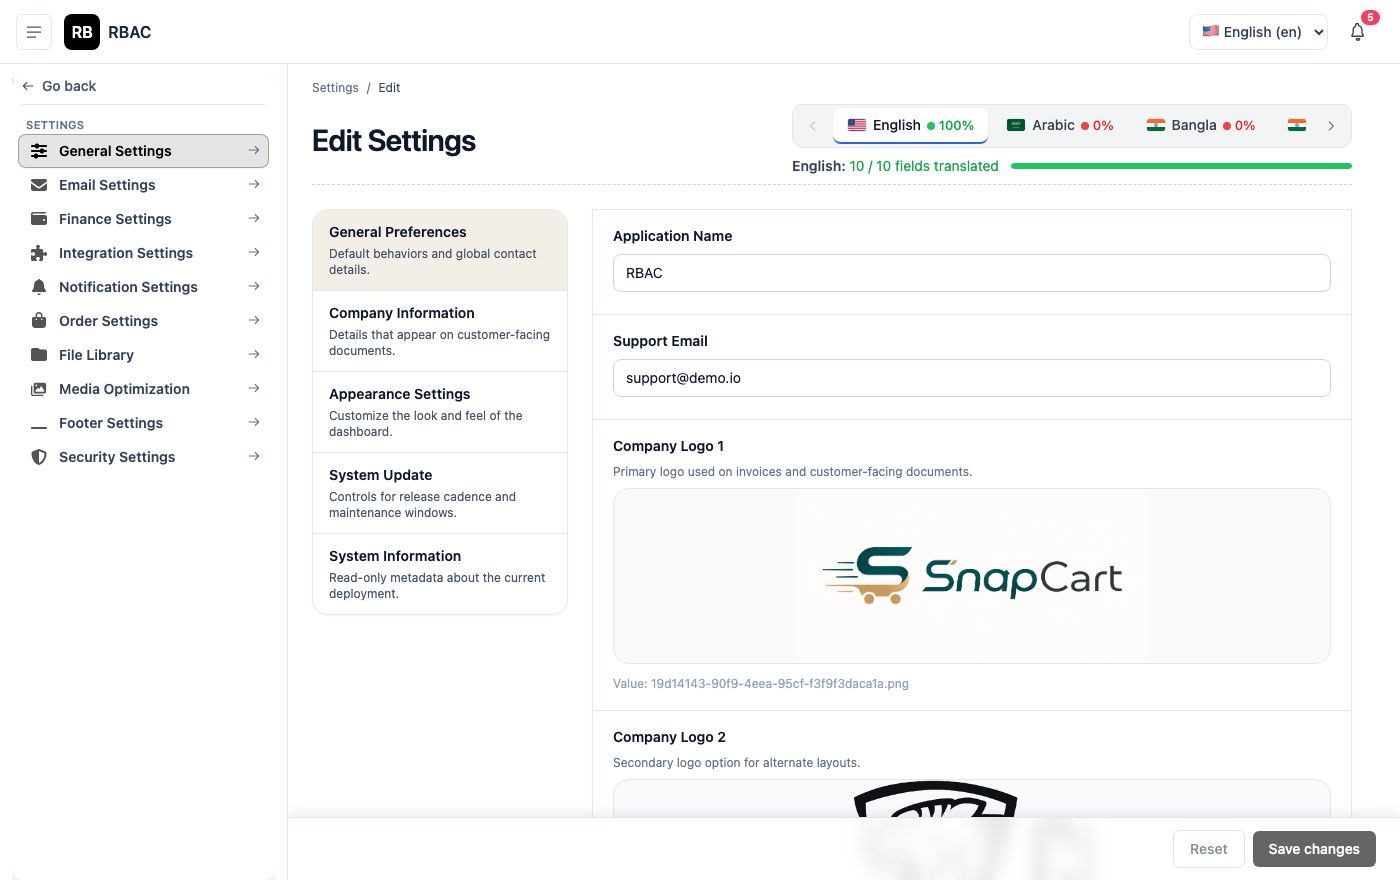 Settings page showing the tab-based navigation: General, Email, Storage, Payments, Shipping, Appearance, SEO, Social Media
:::info Permission required
| Action | Permission |
|---|---|
| View settings | setting.view |
| Modify settings | setting.edit |
| ::: |
General Settings
The General tab configures your store's identity and regional preferences.
General Settings tab showing store name, contact email, currency, language, and timezone fields
| Setting | Description |
|---|---|
| Store Name | Appears in the browser tab, storefront header, email signatures, and invoices |
| Store Tagline | A short descriptor shown beneath the store name on the homepage |
| Contact Email | Displayed to customers on order receipts, the Contact page, and error pages. Also receives admin alert emails |
| Contact Phone | Customer support phone number (shown in footer and contact page) |
| Store Address | Physical business address (shown on invoices and the contact page) |
| Default Currency | The currency in which product prices are set and orders are recorded |
| Default Language | The storefront language for customers who haven't set a preference |
| Timezone | Used for order timestamps, scheduled flash deals, and reports |
| Date Format | How dates are displayed throughout the store (e.g., DD/MM/YYYY, MM-DD-YYYY) |
| Weight Unit | kg or lb — used in shipping weight calculations |
| Dimension Unit | cm or inch — used in product dimension fields |
| Maintenance Mode | When ON, the storefront shows a maintenance page to all visitors. The admin panel remains accessible |
Click Save after making changes.
:::warning Maintenance Mode Always toggle Maintenance Mode ON before making significant price changes or running database migrations. This prevents customers from placing orders during potentially inconsistent states. :::
Email (SMTP) Settings
Email settings configure your outgoing mail server for all transactional emails and broadcasts.
SMTP settings form showing host, port, username, password, encryption, and from fields
| Setting | Description |
|---|---|
| SMTP Host | Your mail server hostname (e.g., smtp.gmail.com, smtp.sendgrid.net) |
| SMTP Port | 587 for STARTTLS (recommended), 465 for SSL, 25 for unencrypted |
| Encryption | TLS (STARTTLS) or SSL |
| Username | SMTP login username (usually your email address) |
| Password | SMTP password. For Gmail, use an App Password — not your regular Gmail password |
| From Name | The sender name customers see (e.g., "SnapCart Store") |
| From Email | The sender email address (e.g., noreply@yourdomain.com) |
SMTP Provider Examples
| Provider | Host | Port | Encryption |
|---|---|---|---|
| Gmail | smtp.gmail.com | 587 | TLS |
| SendGrid | smtp.sendgrid.net | 587 | TLS |
| Mailgun | smtp.mailgun.org | 587 | TLS |
| AWS SES | email-smtp.us-east-1.amazonaws.com | 587 | TLS |
| Outlook | smtp-mail.outlook.com | 587 | TLS |
Testing Your SMTP Configuration
After entering credentials, click Send Test Email. SnapCart sends a test message to the store contact email. Check your inbox (and spam folder) to confirm delivery.
If the test email doesn't arrive:
- Verify the host, port, and encryption settings match your provider's documentation
- For Gmail: ensure Less Secure App Access is off and you're using an App Password generated from your Google Account → Security → App Passwords
- Check your SMTP provider's sending limits (free tiers often have daily caps)
Storage Settings
Configures where uploaded files (gallery images, product photos) are stored.
Storage settings showing Local vs S3 mode selection and S3 credential fields
| Setting | Description |
|---|---|
| Storage Type | Local — files stored on the server filesystem. S3 — files stored in an AWS S3-compatible bucket |
Local Storage
Files are stored at /storage/ on the server running the SnapCart backend. They are served directly by the Spring Boot application.
Pros: Simple setup, no external accounts needed Cons: Files are tied to one server — doesn't work well with auto-scaling; you must back up the storage directory separately
AWS S3 Storage
| Setting | Description |
|---|---|
| S3 Bucket | The name of your S3 bucket |
| S3 Region | AWS region (e.g., ap-south-1 for Mumbai) |
| S3 Access Key ID | AWS IAM access key with s3:PutObject, s3:GetObject, s3:DeleteObject permissions |
| S3 Secret Access Key | Corresponding secret |
| S3 Endpoint URL | Override endpoint for S3-compatible services (DigitalOcean Spaces, Cloudflare R2, MinIO). Leave blank for AWS |
| CDN URL | Optional CDN URL prefix for serving files (e.g., https://d1abc.cloudfront.net). If blank, files are served directly from S3 |
:::tip Use S3 for production Local storage is convenient for development but S3 (or an S3-compatible service) is strongly recommended for any live store. It provides durable, geo-redundant storage, CDN integration, and works correctly across multiple server instances. :::
Appearance Settings
Controls the visual branding of your storefront.
Appearance settings showing logo upload, favicon upload, banner management, and colour picker
| Setting | Description |
|---|---|
| Store Logo | Appears in the storefront header and on email templates. Recommended: transparent PNG, at least 200px wide |
| Favicon | Browser tab icon. Recommended size: 32×32 px (ICO or PNG format) |
| Primary Colour | Accent colour used for buttons, links, and highlights across the storefront |
| Homepage Banners | Upload banner images and set their link targets. Banners appear in the homepage hero carousel |
| Footer Links | Configure which CMS pages appear in the storefront footer |
| Homepage Sections | Toggle visibility of homepage sections (Featured Categories, Flash Deals, New Arrivals, Featured Products, Brand Carousel) |
Banner Management
Banner management showing uploaded banners with drag-to-reorder handles and link URL fields
For each banner:
- Upload an image (recommended: 1920×600 px, JPEG or WebP)
- Enter the Link URL — where clicking the banner takes the customer (e.g.,
/category/sale,/product/iphone-15-pro) - Enter Alt Text for accessibility and SEO
- Drag banners to reorder them — the first banner is shown first in the carousel
SEO Settings
Global SEO configuration applied when individual pages don't have their own meta values.
SEO settings showing default meta title, meta description, Open Graph image, and analytics ID fields
| Setting | Description |
|---|---|
| Default Meta Title | Page title used for pages without a specific title |
| Default Meta Description | Description used for pages without a specific description |
| Open Graph Image | Image used when pages are shared on social media (recommended: 1200×630 px) |
| Google Analytics ID | Your GA4 measurement ID (e.g., G-XXXXXXXXXX). Paste here to enable analytics tracking |
| Google Tag Manager ID | GTM container ID (e.g., GTM-XXXXXXX) — use this instead of GA ID if you manage tags via GTM |
| Facebook Pixel ID | Meta Pixel ID for Facebook/Instagram ad conversion tracking |
| Robots.txt | Custom robots.txt content to control search engine crawling |
Social Media Settings
Links to your social profiles, displayed in the storefront footer.
| Platform | Field |
|---|---|
Full page URL (e.g., https://facebook.com/yourstore) | |
| Full profile URL | |
| Twitter / X | Full profile URL |
| YouTube | Channel URL |
| Company page URL | |
| Profile URL | |
Phone number in international format (e.g., +919876543210) — opens a WhatsApp chat |
Tax Settings
| Setting | Description |
|---|---|
| Tax Display | Inclusive — prices shown include tax; Exclusive — tax added at checkout |
| Tax on Shipping | Whether tax applies to the shipping charge in addition to products |
| Tax Rounding | How tax amounts are rounded (per item or per order) |
Advanced Settings
| Setting | Description |
|---|---|
| Guest Checkout | Allow customers to check out without creating an account |
| Email Verification | Require customers to verify their email on registration |
| Minimum Order Amount | Minimum cart value required to place an order |
| Order Prefix | Prefix added before order numbers (e.g., SC- → SC-1042) |
| Products Per Page | Default number of products shown per listing page |
| Related Products Count | How many related products to show on product detail pages |
| Review Moderation | If ON, product reviews must be approved by an admin before appearing |
Saving Settings
Each tab has its own Save button. Changes on one tab are saved independently of others — switching tabs without saving discards unsaved changes on the current tab.