Admin Users
The Users section lets you create and manage admin accounts — the people who log into the admin panel to operate your store.
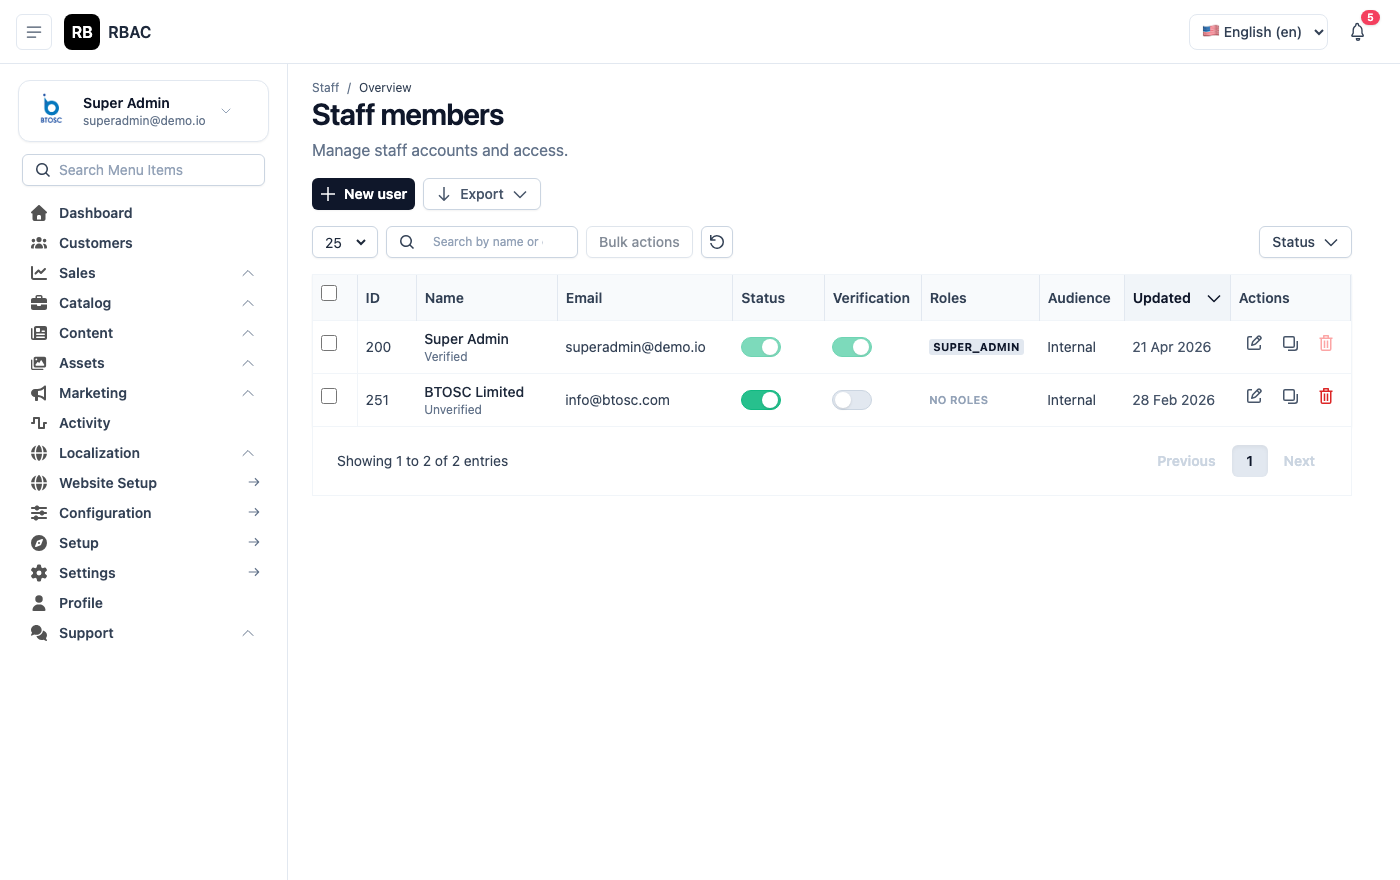 Admin Users list showing name, email, assigned role, and account status
Viewing Users
Go to Users in the left sidebar. The table shows all admin accounts with their name, email, assigned role, and status.
Adding a New User
- Click Add New (top-right).
- Fill in the form:
| Field | Description |
|---|---|
| First Name | User's first name |
| Last Name | User's last name |
| Login email address (must be unique) | |
| Password | Temporary password — ask the user to change it on first login |
| Role | Select one role from the dropdown (e.g., Admin, Finance) |
| Status | Active or Inactive |
- Click Save.
The user will be able to log in immediately at /admin using the email and password you set.
Editing a User
Click the Edit icon next to any user to update their name, email, role, or status. You cannot edit the Super Admin account.
Deactivating a User
Set a user's Status to Inactive to prevent them from logging in without deleting their account. All audit log entries for that user are preserved.
Deleting a User
Click the Delete icon. This action is permanent and removes the user's login access. Their activity log entries remain for audit purposes.
You cannot delete the Super Admin (ID 1) account. If you need to restrict access, set the account to Inactive instead.
Changing a Password
Users can change their own password by clicking their avatar (top-right) → Change Password. Admins with user management permission can reset any user's password from the Edit user page.
Inviting a New Team Member — Recommended Workflow
When onboarding a new admin team member, follow these steps:
- Decide the role before creating the account. Review Roles and identify which built-in role fits (Admin, Finance) or create a custom role first.
- Create the account with a temporary password (e.g.,
Temp@12345). - Share credentials securely — use a password manager share or encrypted message. Never send passwords over SMS or plain email.
- Ask the user to change their password on their first login via Profile → Change Password.
- Verify access by asking the new user to confirm they can access the sections they need and cannot access sections they shouldn't.
User Status
| Status | Effect |
|---|---|
| Active | User can log in and access the admin panel based on their role |
| Inactive | User's login is blocked. The account and its activity log are preserved. |
Use Inactive instead of deletion when you want to temporarily suspend access (e.g., employee on leave, security incident) while preserving the audit trail.
Profile and Self-Service
Each admin user can manage their own account settings:
- Click the user avatar (top-right corner of the admin panel).
- Select Profile to update their name or email.
- Select Change Password to update their password.
- Select Logout to end the session.
Admins cannot change their own role — only a Super Admin can reassign roles.
Security Best Practices
- Use unique passwords for each admin account. Do not share passwords.
- Limit the number of active admin accounts to only people who actively need access. Review the user list quarterly and deactivate accounts for former team members.
- Assign the least-privileged role that allows the user to do their job. A blog editor does not need order management permissions.
- Monitor activity using Activity Logs to detect unusual actions by admin accounts.
Demo Accounts
After installation, three demo accounts are seeded automatically:
| Password | Role | |
|---|---|---|
| superadmin@demo.io | Super@123 | Super Admin |
| admin@demo.io | Admin@123 | Admin |
| finance@demo.io | Finance@123 | Finance |
:::warning Change demo passwords immediately These credentials are publicly documented and must be changed before going live. Go to each account's edit page and set a unique, strong password. Failure to change these credentials exposes your store to unauthorized access. :::
Related
- Roles — Define what each user can access
- Permissions — Fine-grained permission keys