First Login
After installation, follow these steps to log in and configure your store for the first time.
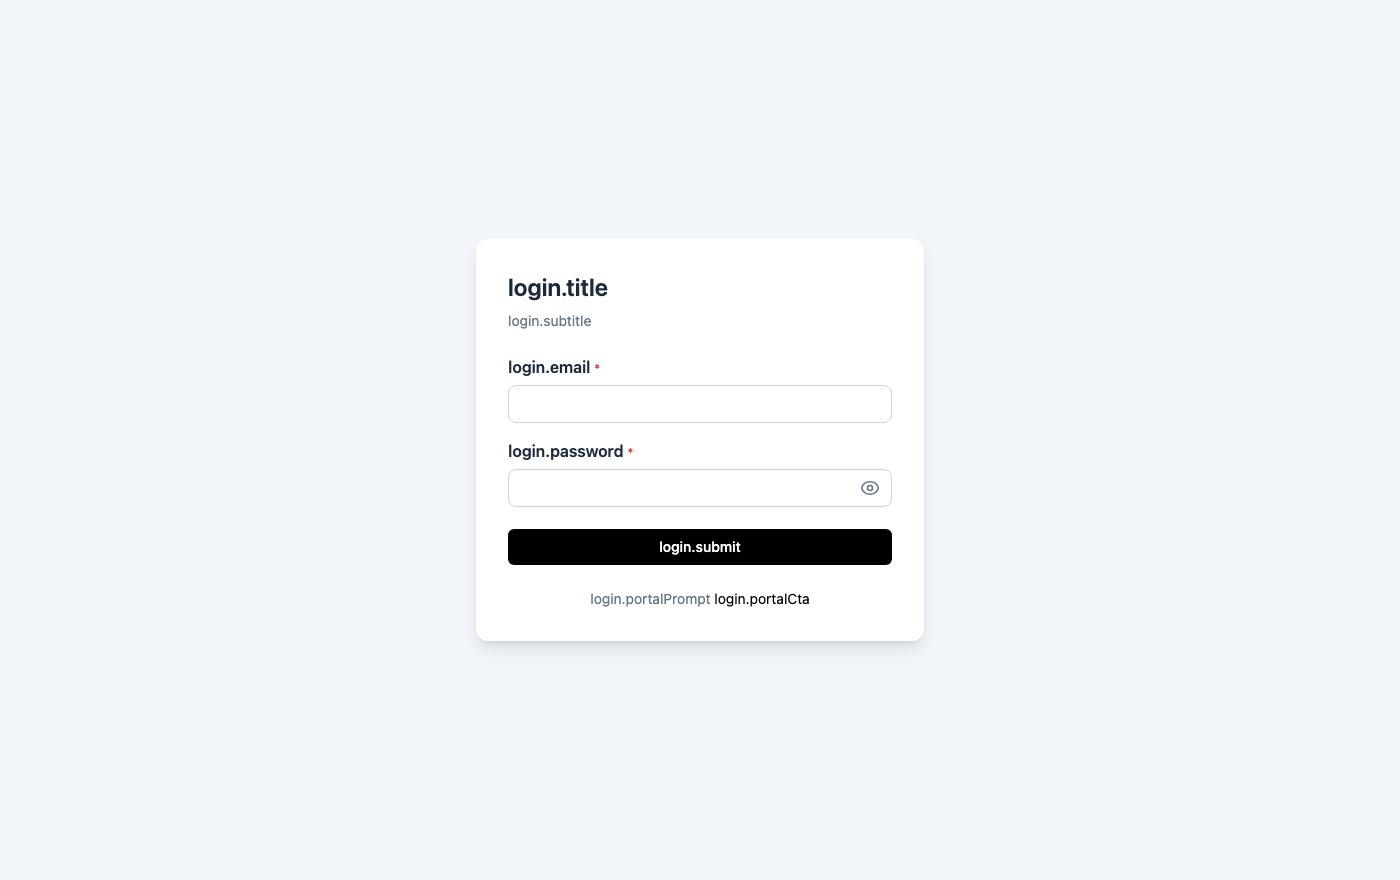 SnapCart Admin login page — enter your email and password to access the panel
Logging into the Admin Panel
- Open your browser and navigate to
http://your-domain.com/admin(replace with your actual domain orhttp://localhost:8080/adminfor local development). - Enter the default super admin credentials:
- Email:
superadmin@demo.io - Password:
Super@123
- Email:
- Click Sign In.
You will be taken to the Dashboard — an overview of your store's activity, recent orders, and key metrics.
:::warning Change default passwords immediately The demo credentials are publicly documented. Change them before going live. See Admin Users for instructions on updating passwords. :::
Understanding the Admin Panel Layout
After logging in, you will see the main admin interface:
| Area | Description |
|---|---|
| Left sidebar | Main navigation — all sections of the admin panel |
| Top bar | Store switcher, notifications bell, and your profile avatar |
| Main content area | The active page — changes as you navigate |
| Breadcrumbs | Shows your current location within the admin panel |
First-Time Setup Checklist
Complete these steps in order to prepare your store for launch. Each step links to the relevant documentation section.
1. Change Admin Passwords
Before anything else, secure your admin accounts.
- Click your avatar (top-right) → Change Password.
- Enter your current password, set a new strong password, and click Save.
- Repeat for the
admin@demo.ioandfinance@demo.ioaccounts by going to Users, clicking Edit on each account, and setting a new password.
Strong passwords should be at least 12 characters long and include uppercase letters, lowercase letters, numbers, and symbols.
2. Configure General Settings
Go to Settings → General and set up your store identity:
| Setting | What to Enter |
|---|---|
| Store Name | Your brand or company name |
| Store Tagline | A short description of what you sell |
| Contact Email | Your support or enquiries email address |
| Default Currency | The currency products are priced in (e.g., USD, INR, EUR) |
| Default Language | The default storefront language (e.g., English) |
| Timezone | Your store's primary timezone for order timestamps |
| Store Logo | Upload your brand logo (displayed in the storefront header) |
| Favicon | Upload a small icon (displayed in browser tabs) |
Click Save after making changes.
3. Configure Email / SMTP
Order confirmations, OTP codes, and account notifications are sent via email. Without SMTP configured, customers will not receive any transactional emails.
Go to Settings → Email and enter:
| Field | Description |
|---|---|
| SMTP Host | Your mail server hostname (e.g., smtp.gmail.com) |
| SMTP Port | Usually 587 (TLS) or 465 (SSL) |
| Username | Your SMTP login (usually your email address) |
| Password | Your SMTP password or app password |
| From Email | The address emails are sent from (e.g., noreply@yourstore.com) |
| From Name | The sender name customers see (e.g., "SnapCart Store") |
Click Test Email to send a test message and confirm delivery before saving.
Popular SMTP providers: Gmail (smtp.gmail.com), SendGrid (smtp.sendgrid.net), Mailgun, or AWS SES.
4. Configure Payment Gateways
Go to Settings → Payments and enable the payment methods you want to offer:
- PayPal — Enter your PayPal Client ID and Secret. Toggle to Live mode when ready to accept real payments.
- Razorpay — Enter your Razorpay Key ID and Secret. Switch from test mode once confirmed working.
- Braintree / PayTM — Enter your Braintree Merchant ID, Public Key, and Private Key.
At least one payment gateway must be enabled for customers to complete checkout.
5. Configure Shipping
Go to Shipping in the sidebar:
- Add the countries you ship to under Shipping → Countries.
- Create shipping zones that group countries by region.
- Add shipping rates within each zone (flat rate, percentage, or free shipping threshold).
- Go to Settings → Shipping and enable shipping for your store.
Customers will see shipping costs calculated at checkout based on their delivery address and the active rates.
6. Add Categories
Before adding products, create your category structure:
- Go to Products → Categories.
- Click Add New and create top-level categories (e.g., Electronics, Clothing, Home).
- Create sub-categories nested under the top level if needed (e.g., Electronics → Smartphones).
A well-organised category tree makes it easier for customers to browse your catalogue and helps with SEO.
7. Add Your First Product
Go to Products → Add New and fill in:
- Name — Clear, descriptive product title
- Category — Assign to the relevant category
- Price — Regular price (and sale price if on promotion)
- Description — Full product details for the product page
- Images — Upload at least one high-quality image
- Stock — Set the available quantity
- SKU — A unique identifier for inventory management
Click Publish to make the product visible on the storefront.
8. Invite Team Members
Go to Users → Add New to create accounts for colleagues who will help manage the store. Assign roles based on responsibility:
- Admin — Full store management (products, orders, customers, content)
- Finance — Read-only access to orders, customers, and financial reports
- Custom roles — Create tailored roles under Roles → Add New for specific access needs
See Admin Users and Roles for detailed instructions.
Post-Setup Verification
After completing the checklist, verify everything is working:
- Visit the storefront at
http://your-domain.com— confirm the store name, logo, and homepage sections appear correctly. - Browse a product — confirm it appears on the category page and the product detail page.
- Test the cart — add the product to the cart and proceed to checkout.
- Place a test order — use your payment gateway's test mode to place an order and confirm:
- The order appears in Orders in the admin panel.
- A confirmation email is sent to the customer email address.
- Switch to a second language (if configured) — confirm the storefront language switcher works.
Once all checks pass, your store is ready for customers. Disable test mode on your payment gateways and go live.
Related
- Installation — Set up the backend and frontend
- Requirements — System requirements before installing
- Admin Panel Overview — Tour of the admin interface
- Products — Managing your product catalogue
- Settings — Full settings reference